Quick Start
Get up and running with the Kagi API in a few minutes.
Step 1: Create a Kagi Account
Sign up for a Kagi account if you don't have one already. A Kagi account is required to access the API portal and generate API keys.
Step 2: Set Up Your Account
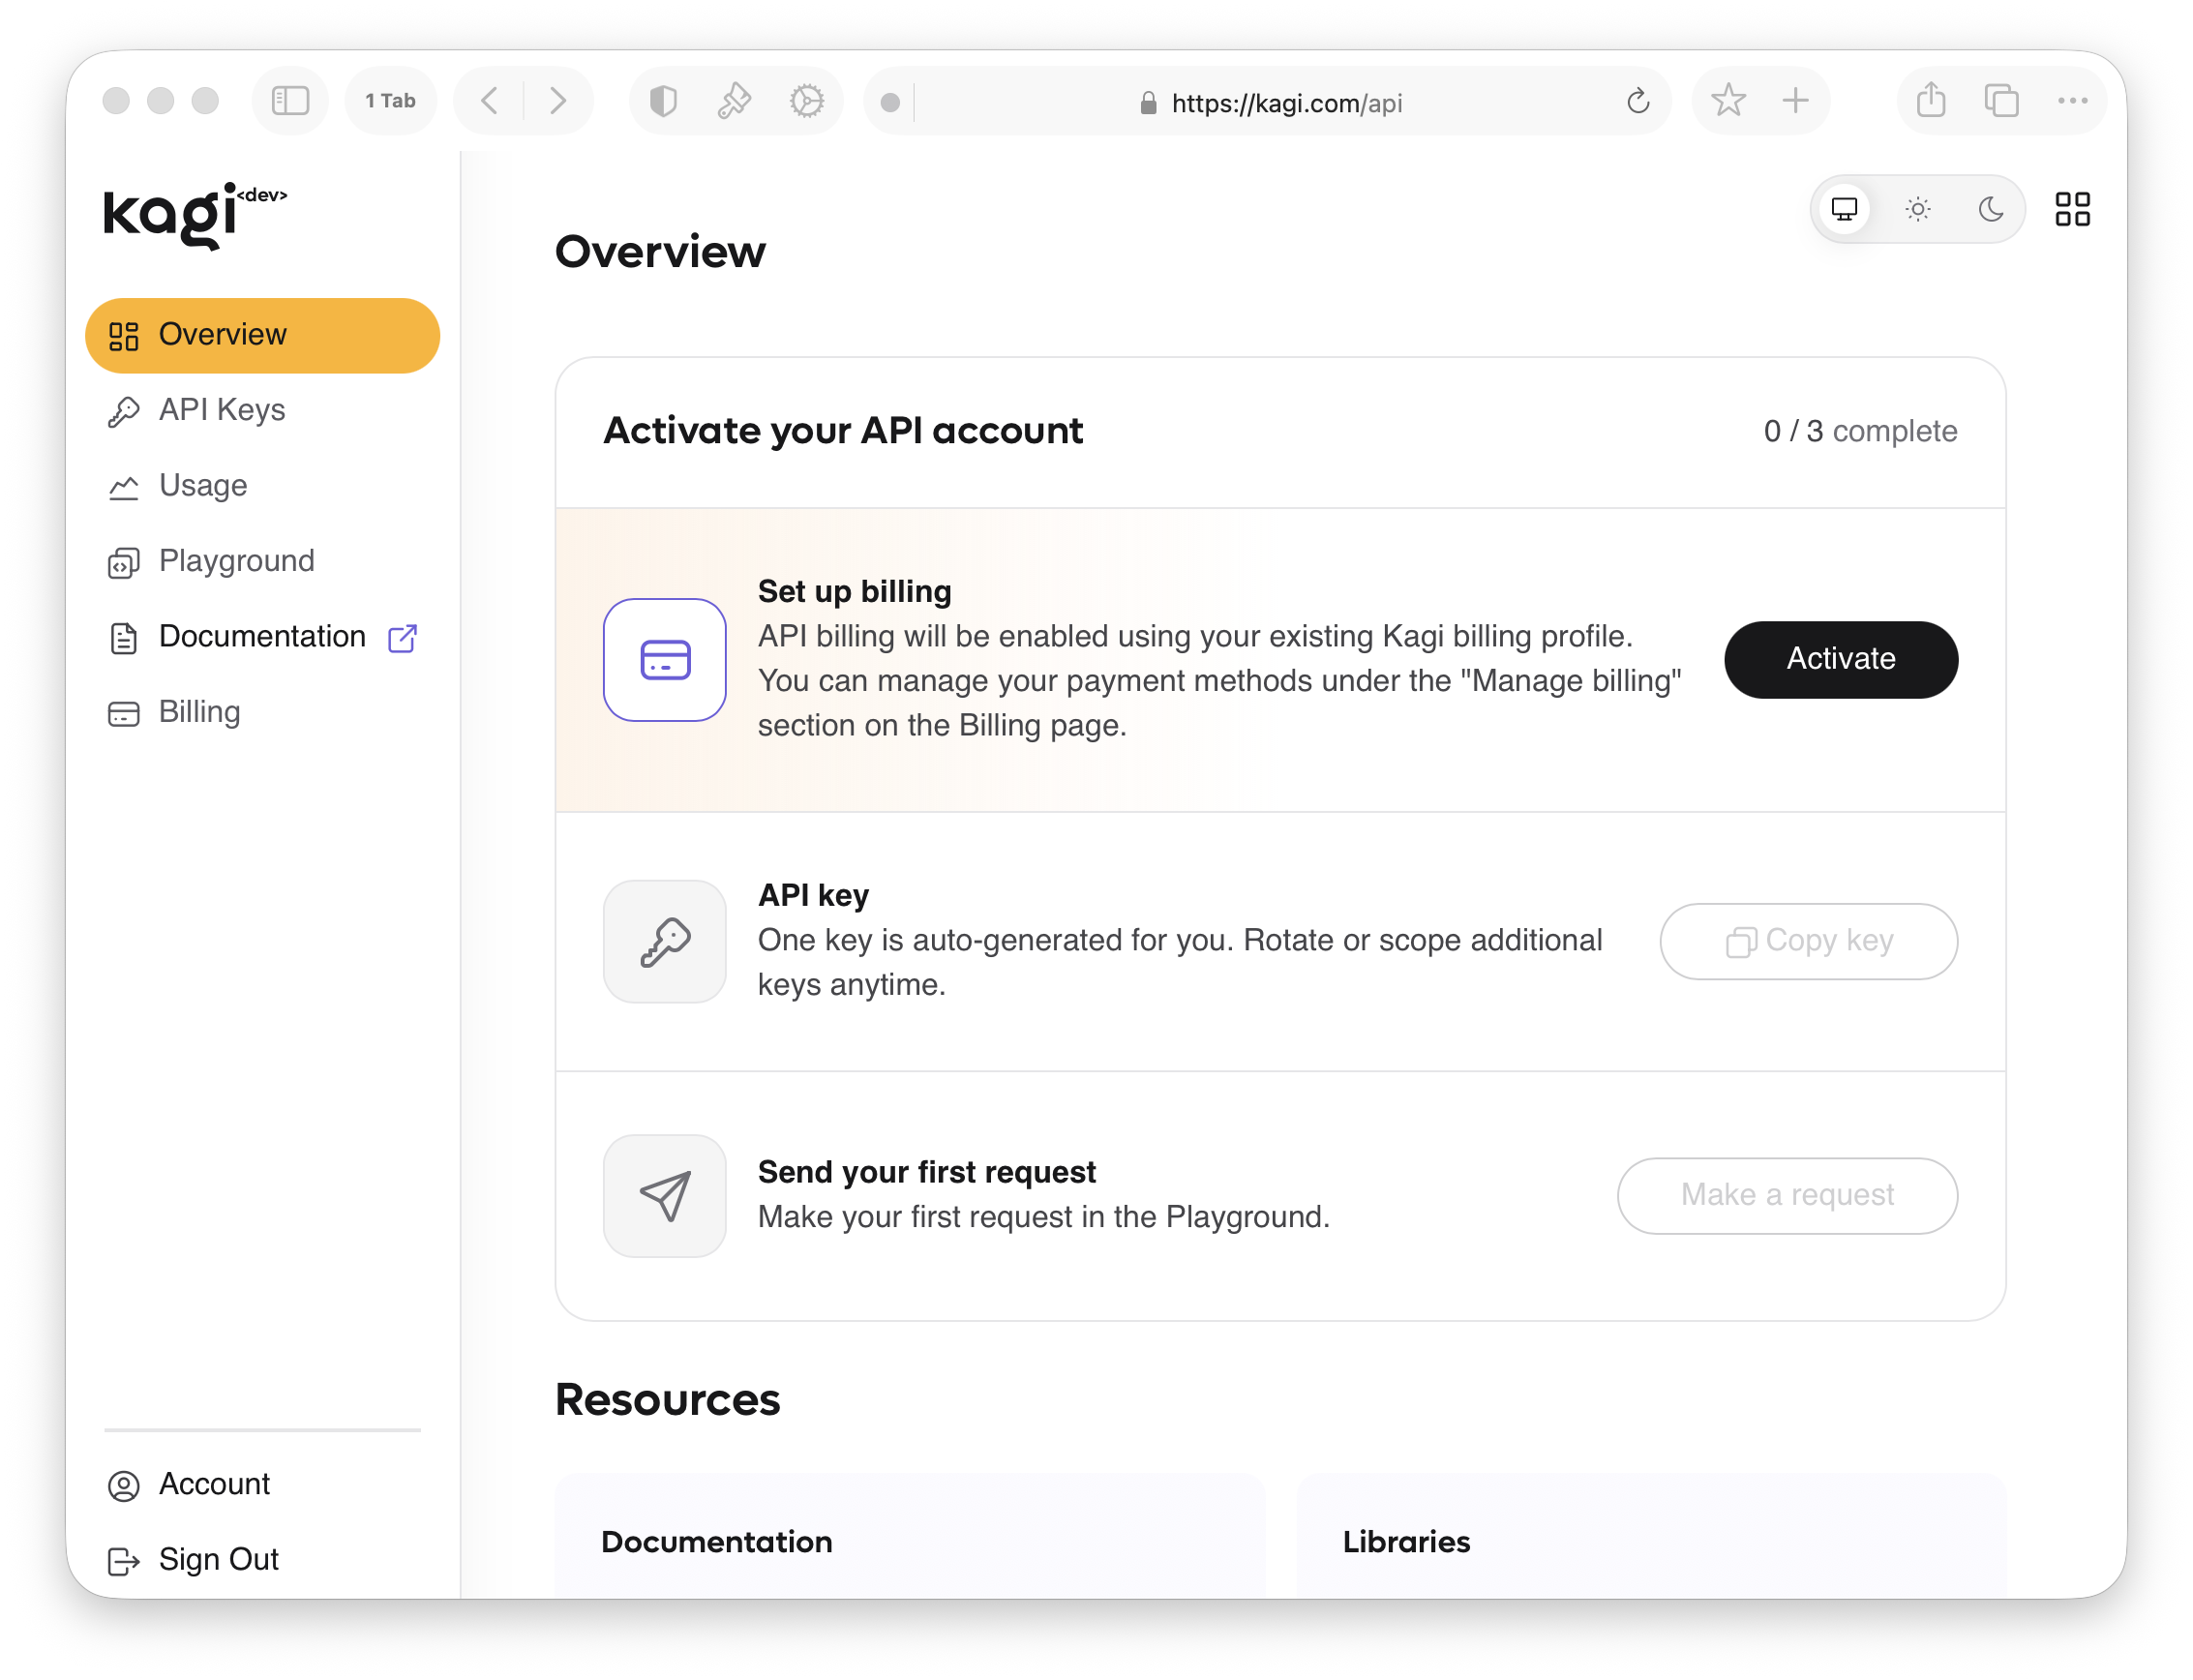
Go to Settings → API, or navigate directly to kagi.com/api.
Step 2.1: Add a Payment Method
API usage is billed separately from a Kagi subscription. You can add a payment method from the API Billing panel.
Step 2.2: Copy Your API Key
An API key is automatically generated for you. Click Copy key in the portal and store it somewhere safe.
Step 2.3 (Optional): Test Your Key in the Playground
The API portal includes a built-in playground where you can run test queries directly in your browser without writing any code. It's a quick way to verify your key is working before integrating.
Step 3: Make Your First API Call
Try a search request with your API key using curl:
curl -i -X POST \
  https://kagi.redocly.app/_mock/openapi/search \
  -H 'Authorization: Bearer <YOUR_TOKEN_HERE>' \
  -H 'Content-Type: application/json' \
  -d '{
    "query": "steve jobs",
    "workflow": "search"
  }'
See the API reference for the full endpoint reference.
Client Libraries
Jump right in to building with one of our pre-made client libraries.